

How to Create a Geospatial AR Experience with ARLOOPA Studio
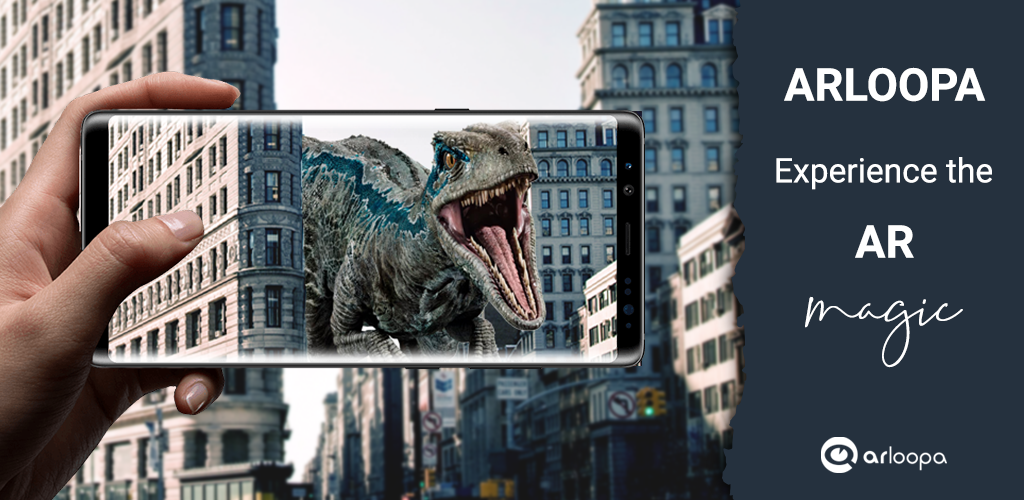
Geospatial Augmented Reality is transforming the way people interact with real-world locations by placing digital content directly into physical environments. With ARLOOPA Studio, creating Geospatial AR experiences is simple, intuitive, and accessible - even without coding.
In this blogpost, we’ll walk you through how to create a Geospatial AR experience using Google Geospatial in ARLOOPA Studio, with a real-world example placed on the Eiffel Tower.

What Is Geospatial AR?
Geospatial AR allows digital objects to appear at precise real-world locations using GPS, visual positioning, and 3D mapping. Unlike marker-based AR, geospatial AR experiences are anchored to landmarks, streets, and cities, making them ideal for:
- Tourism and city guides
- Cultural heritage and museums
- Outdoor education
- Outdoor marketing
- AR city quests and games
Why Use ARLOOPA Studio for Geospatial AR?
ARLOOPA Studio makes Geospatial AR creation accessible to creators, educators, brands, and cultural institutions by offering:
- No-code AR creation
- Google Geospatial integration
- Built-in 3D asset libraries
- Support for tourism, education, and marketing
- Easy publishing and mobile viewing
Step-by-Step: Creating a Geospatial AR Experience in ARLOOPA Studio
1. Create a New Experience
Start by opening ARLOOPA Studio.
On the home page, click Create New Experience to begin building your AR project.
2. Choose Geospatial AR
Select Geospatial AR as the experience type.
Then choose Google Geospatial, which enables precise real-world positioning using Google’s visual positioning system.

3. Select an Empty Scene
Choose Empty Scene to open the Studio editor.
This gives you full control to design your AR experience from scratch.
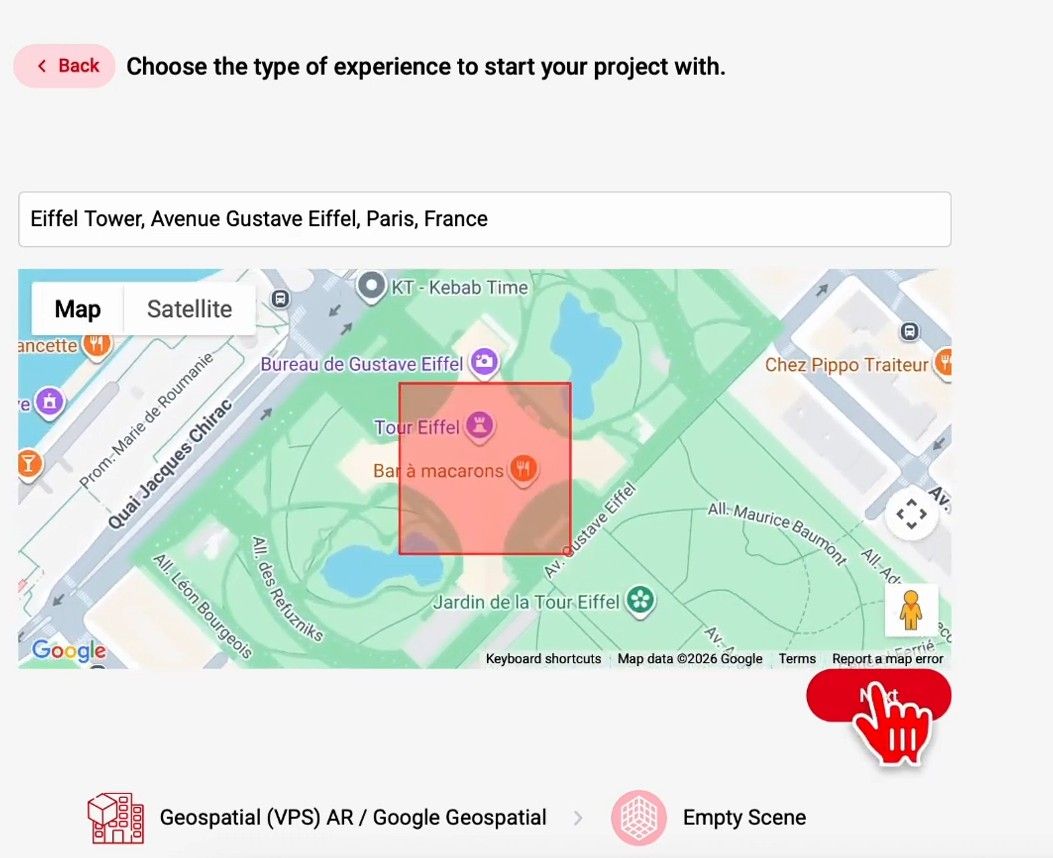
4. Choose a Real-World Location
For this tutorial, we’ll place AR content on the Eiffel Tower.
Use the search bar to find the landmark and position it so the structure fits inside the red cube. This step ensures accurate spatial alignment of your AR content.
5. Use the 3D Landmark Model
Inside the editor, a 3D model of the Eiffel Tower will automatically load.
This model acts as the spatial anchor for your geospatial AR experience and ensures accurate placement in the real world.
6. Add AR Content
Now it’s time to add interactive elements.
You can either upload a model from your computer or use one from a library of ready-made models.
Once the model is added, you can resize, reposition and rotate it to adjust it until it fits perfectly into your scene.
7. Publish the Experience
When you’re satisfied with the result, click Publish.
Your geospatial AR experience is now live.
How Users View the Geospatial AR Experience
To see the AR content, users must be physically near the Eiffel Tower.
They simply open the ARLOOPA App, go to the ARLOOPA Map, and tap on the location pin.
The app will prompt them to point their camera at the Eiffel Tower, where the AR content will appear in real time.
Geospatial AR opens up powerful possibilities for storytelling, education, and engagement in real-world locations. With ARLOOPA Studio, you can create immersive, geospatial AR experiences in just a few steps - no technical expertise required.
Whether you’re building an AR tour, an educational experience, or an interactive city attraction, geospatial AR helps bring places to life like never before.


See more articles


Solutions