
 How to Create an Exploded Assembly in ARLOOPA Studio Using Scene Logic
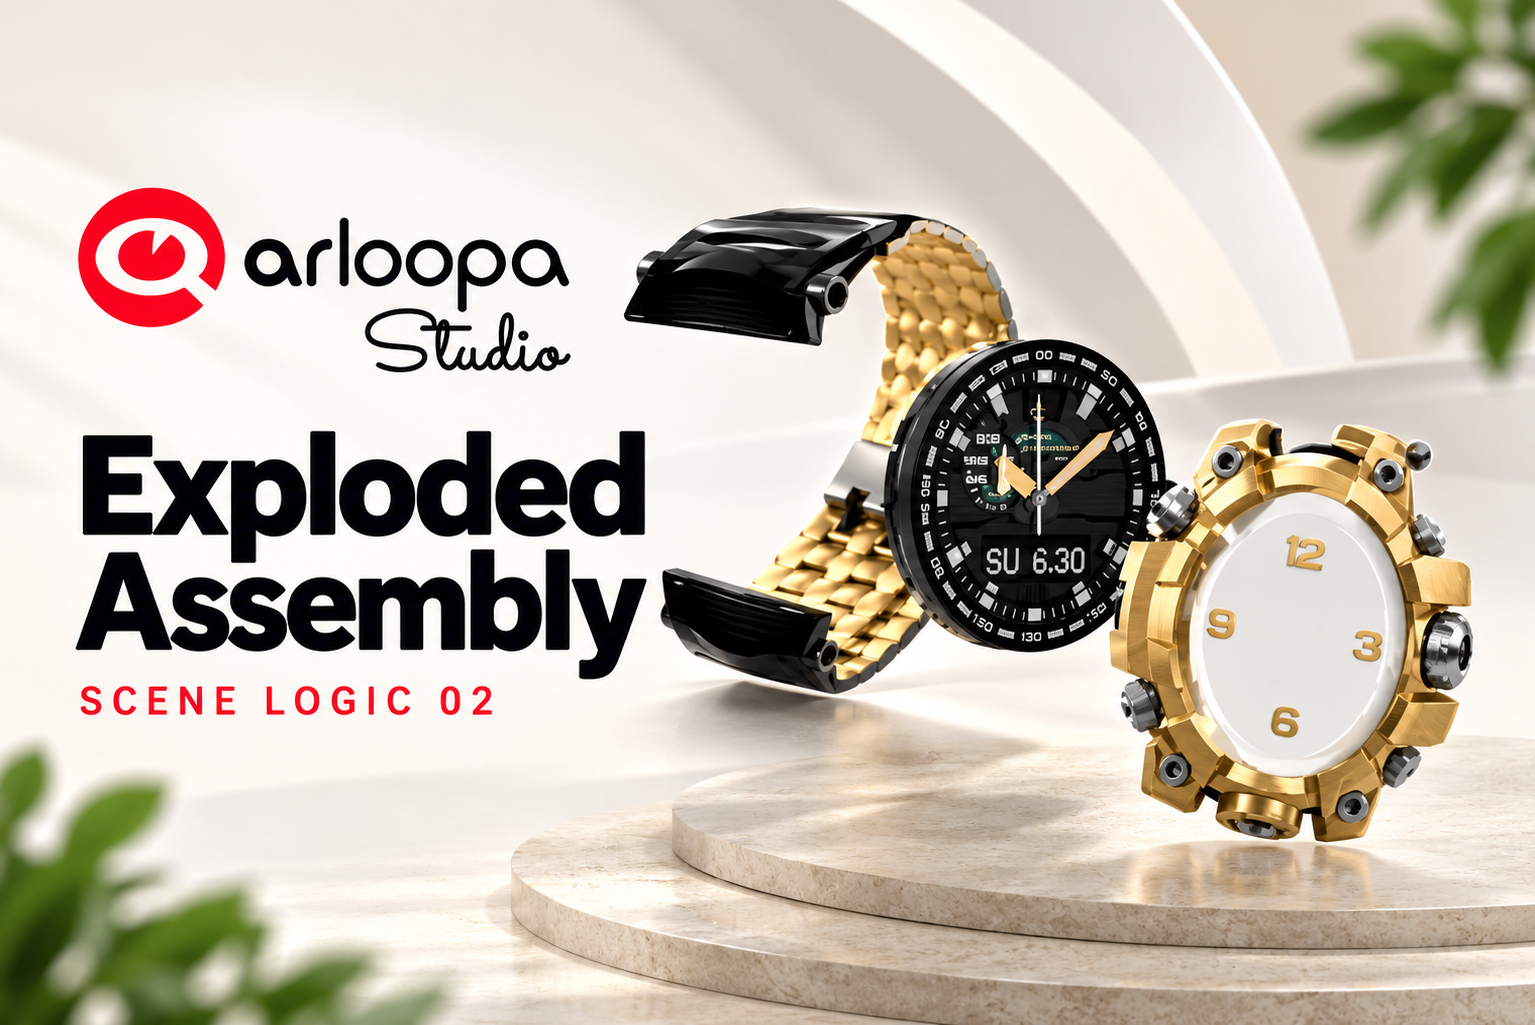
Want to create an interactive augmented reality experience that reveals how a product is assembled? With ARLOOPA Studio, you can build an exploded view that lets users separate product components, explore individual parts, and bring everything back together—all without writing code.
In this tutorial, you'll learn how to create an interactive exploded assembly of a chronograph watch using Scene Logic in ARLOOPA Studio. By combining 3D models, interactive buttons, animations, and explanatory labels, you can transform a static product model into an engaging learning experience.
Watch the Tutorial
Follow the step-by-step video to see how to build the complete interactive experience in ARLOOPA Studio.
What Is an Exploded Assembly?
An exploded assembly is a visual representation of a product in which its components are separated from their assembled positions. This makes it easier to understand how different parts fit together and how a product is constructed.
When combined with augmented reality, an exploded view becomes an interactive, three-dimensional experience. Instead of looking at a static diagram, users can explore individual components, see explanatory information, and watch the product return to its original configuration.
This type of experience is useful for:
- Product demonstrations: Show customers how a product is constructed.
- Education and training: Explain the function and arrangement of individual components.
- Manufacturing and engineering: Visualize product structures and assembly concepts.
- Retail and marketing: Create engaging, interactive product presentations.
- Museums and exhibitions: Help visitors explore objects through interactive 3D visualization.
What You'll Build
In this tutorial, you'll create an interactive exploded assembly of a chronograph watch.
The experience includes three separate 3D components—the watch body, dial, and bezel—that move into exploded positions when activated. Users can select individual parts to reveal explanatory labels and then reassemble the watch through a controlled animation sequence.
You'll use Scene Logic to connect user interactions with object movement, rotation, visibility, and animation completion events.
How to Create an Exploded Assembly in ARLOOPA Studio
Step 1: Create a New AR Scene
Open ARLOOPA Studio and start a new project.
For this tutorial, select:
- Tracking: Surface Tracking
- Platform: ARLOOPA App
- Scene type: Empty Scene
Starting with an empty scene gives you control over the 3D objects, interface elements, and interactions you will build.
Step 2: Upload and Align the 3D Model Components
Import the three watch components: the body, dial, and bezel.
Position and align the components so they form a complete watch when assembled. Establishing the correct initial positions is essential because these positions will serve as the reference for the animation and reassembly sequence.
Keep each component as a separate object so that you can control its movement independently.
Step 3: Add a Heading and Interactive Controls
Create a heading to introduce the experience and add buttons that let users control the assembly.
You'll use these controls to trigger the exploded view and reassembly animations. Clear labels help users understand what each button does and make the experience easier to navigate.
Step 4: Create Explanatory Labels
Add text labels for the watch components, including the information you want users to discover when selecting each part.
Initially, these explanations can remain hidden. Later, you'll use Scene Logic to reveal the appropriate label when a component is selected.
This creates a more focused experience by displaying information when users need it.
Step 5: Animate the Components with Scene Logic
Use Scene Logic to define how each component moves when the user activates the exploded view.
Configure the movement by adjusting the position and rotation of each object. Combining these properties allows components to move away from the watch while rotating into their exploded positions.
Use the Out animation setting for the movement and rotation actions, following the tutorial's configuration.
Repeat the process for the dial and bezel, giving each component its own position and rotation settings.
Step 6: Sequence the Reassembly
An effective exploded assembly should also return to its original state in a clear, controlled sequence.
Use the On Complete event to trigger the next action after an animation finishes. This lets you coordinate the reassembly process, returning the components one after another rather than moving everything simultaneously.
You can also use completion events to enable the next control at the appropriate moment.
This is one of the most useful Scene Logic techniques in the project: an interaction can depend on an animation finishing, creating a more structured experience without code.
Step 7: Reveal Component Explanations
Connect each component to its corresponding explanatory label.
Use Fade + Scale to animate the labels into view when users select a part. This gives the interface a smoother transition than simply making text appear instantly.
Configure the Assemble interaction to clear the labels, returning the scene to a clean state as the watch components come back together.
Step 8: Test the Complete Interaction
Before publishing your experience, test the entire interaction from beginning to end.
Check that:
- All three components start in their correct assembled positions.
- The exploded view moves and rotates each component as intended.
- Reassembly follows the correct sequence.
- Component labels appear when selected and disappear when assembling.
- Controls behave correctly when clicked repeatedly.
- Double-clicking during an animation doesn't leave the scene in an unexpected state.
Testing repeated interactions is particularly important for animated experiences. It helps ensure that users can explore the scene naturally without interrupting the intended sequence.
Why Use Scene Logic for Interactive AR?
Scene Logic lets you connect user actions to object behaviors and animations through a visual workflow rather than traditional programming.
In this project, it brings together several important interaction techniques:
- Object movement and rotation: Animate 3D components independently.
- Event sequencing: Use On Complete to trigger actions in the correct order.
- Interactive controls: Let users initiate and navigate the experience.
- Animated labels: Reveal information with Fade + Scale.
- State management through interactions: Coordinate controls and animations to make repeated use more predictable.
These techniques can be applied to many projects beyond a watch assembly.
Where Can You Use Exploded View Experiences?
Once you understand the workflow, you can adapt it to different products and educational scenarios.
For example, you could create an exploded view of a mechanical device, demonstrate the internal components of a piece of equipment, explain how a product is assembled, or develop an interactive learning activity for engineering students.
The same principles can help make complex objects easier to explore and understand through augmented reality.
Try It Yourself with ARLOOPA Studio
Ready to create your own interactive 3D experience?
Open ARLOOPA Studio, follow the tutorial, and experiment with Scene Logic to build an exploded assembly of your own.
3D Model Credits
Chronograph Watch by Eric Chadwick / Darmstadt Graphics Group (2025), based on Chronograph Watch Mudmaster by graphiccompressor. Licensed under Creative Commons Attribution 4.0 International (CC BY 4.0).
For this lesson, the model was split into three controllable GLB files. The default gold materials were retained, and the second-hand animation was removed. This project demonstrates visual product assembly and interaction.


See more articles


Solutions