
 How to Make the Mona Lisa Come to Life in AR with ARLOOPA Studio
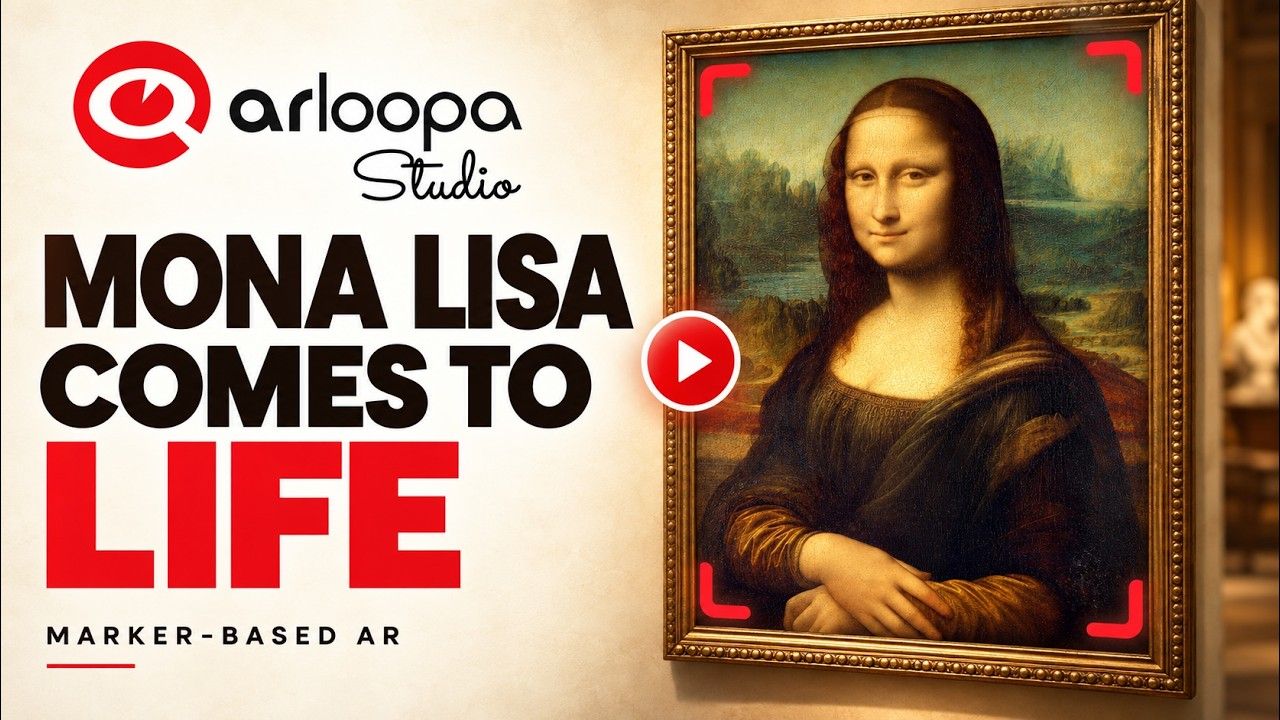
What if visitors could tap a famous painting in a museum and watch the portrait come to life right before their eyes?
With ARLOOPA Studio, you can combine AI-generated video with augmented reality to create interactive museum experiences that transform how people discover and engage with art. Using Scene Logic, you can make a painting respond to a tap, reveal an animated version of the artwork, and let visitors switch between the original and the animated portrait—all without coding.
In this tutorial, you'll learn how to create a marker-based AR museum experience featuring Leonardo da Vinci's Mona Lisa, using AI video generation and interactive controls in ARLOOPA Studio.
Watch the Tutorial
Follow the complete tutorial to see how to generate an animated portrait and build the interactive AR experience step by step.
What Is an Interactive AR Museum Experience?
Augmented reality offers museums and galleries new ways to present artworks, historical objects, and cultural stories. By combining physical exhibits with digital content, AR can give visitors a more engaging way to explore what they see.
Imagine pointing your phone at a painting and watching the subject smile or wave. Visitors could discover additional information, compare the original artwork with an animated interpretation, and experience familiar masterpieces from a new perspective.
Interactive AR experiences can be used for:
- Art museums and galleries: Add animated interpretations and interactive layers to paintings.
- Cultural heritage: Bring historical stories and objects to life through digital experiences.
- Education: Help students engage with art history and visual storytelling.
- Exhibitions: Create memorable, interactive installations for visitors.
- Tourism: Enrich cultural attractions with mobile AR experiences.
What You'll Build
In this tutorial, you'll create an image-tracked AR experience based on the Mona Lisa.
The experience begins with the original painting. When a visitor taps it, an AI-generated video reveals an animated interpretation of the portrait in the same position.
The interaction includes two main actions:
- Reveal the animated portrait: Tap the painting to display the AI-generated video.
- View Original: Pause the video and compare the animated interpretation with the original artwork.
You'll use Image Tracking, AI Video generation, and Scene Logic to connect the artwork, video, and interactive controls.
How to Make the Mona Lisa Come to Life in ARLOOPA Studio
Step 1: Create an Image-Tracked AR Experience
Open ARLOOPA Studio and start creating a new experience.
Select Image Tracking and upload the Mona Lisa image that will serve as your marker.
Image Tracking allows the AR experience to recognize a designated image and position digital content in relation to it. In this project, the painting acts as the visual reference for the animated portrait.
Step 2: Generate an AI-Animated Portrait
Choose AI Video to create an animated interpretation of the painting.
Open the generation interface. ARLOOPA Studio automatically uses your selected marker image as the first frame, helping the generated video begin with the original artwork.
For this project, the goal is to preserve the painting's recognizable appearance while introducing a subtle, welcoming movement.
Step 3: Write Your Motion Prompt
A clear prompt helps guide the AI toward the movement you want.
The prompt used in this tutorial is:
Locked camera, full Mona Lisa painting. She turns toward the viewer, smiles warmly, lifts her right hand from her lap and gives a clear, slow welcoming wave, then lowers it back. Preserve her face, Renaissance paint texture, clothing, landscape and framing. No zoom, cuts or text.
Notice how the prompt describes both the desired movement and the visual elements that should remain consistent.
When generating AI video from an existing artwork, it helps to specify the camera position, the subject's action, and the details that should be preserved.
Step 4: Choose the AI Video Settings
Select Kling as the video generation model and set the duration to 10 seconds.
Generate the video and review the result. Look for a natural movement that remains visually consistent with the original painting.
Once you're happy with the result, choose Next to continue into the editor with the generated video.
Note: Generation time may vary. The tutorial shortens the waiting period to focus on the workflow.
Step 5: Add the Original Painting to the Scene
Inside the editor, add the original Mona Lisa image as a still image that visitors can tap.
Position it over the tracked marker and adjust its size so that it aligns with the artwork.
This original image will serve as the interactive layer that visitors use to reveal the animated portrait.
Step 6: Align the Animated Video
Add the generated video to the scene and align it with the original painting.
Adjust the placement and scale until the video matches the still image as closely as possible.
Careful alignment is essential to the effect: when the animation appears, the portrait should look as though it is moving within the original painting rather than appearing as a separate object.
Step 7: Add a Museum Label and View Original Button
Create a native text label to introduce the artwork or provide a short description for visitors.
Then add a button labeled View Original.
These interface elements help visitors understand the artwork and provide a clear way to pause the animation for comparison.
Keep the controls simple so that the painting remains the main focus of the experience.
Step 8: Prevent Automatic Video Playback
Configure the scene so the video does not start playing automatically when the experience opens.
Use the Start → Stop Video connection in Scene Logic to stop the video at the beginning.
This ensures that visitors first see the original painting and can decide when to reveal the animation.
Step 9: Make the Painting Interactive
Use the On Model Click event to trigger the reveal interaction when a visitor taps the painting.
In Scene Logic, connect the click event to the appropriate Boolean values and Set Active actions to control the visibility of the original image and animated video.
This creates the transition between the original artwork and its AI-generated interpretation.
Step 10: Reveal the Portrait and Start Playback
Configure the reveal animation so the animated portrait fades into view.
Then connect On Complete to Play Video.
This ensures that video playback begins after the reveal animation finishes, creating a more natural transition between the original painting and the moving portrait.
Using event sequencing helps coordinate visual transitions and playback without requiring Number nodes or transform nodes.
Step 11: Add the View Original Interaction
Connect the View Original button to the actions needed to pause the video and show the original painting.
In this tutorial, Stop Video pauses playback at the current frame. It does not rewind the video to the beginning.
Tapping the portrait again resumes playback rather than restarting the animation. Keep this behavior in mind when designing your interaction and explaining it to visitors.
Step 12: Test the Experience
Preview the complete experience and test each interaction.
Check that:
- The painting is recognized by Image Tracking.
- The original artwork appears in the correct position.
- Tapping the painting reveals the animated portrait.
- The video starts after the reveal transition completes.
- View Original pauses playback and allows comparison.
- Tapping the portrait again resumes the video.
- The image and video remain aligned throughout the experience.
Finally, test your printed marker in the ARLOOPA App under the lighting conditions expected in your exhibition. Good lighting, a clearly visible marker, and suitable print quality can help improve tracking performance.
Why Use AI Video and Scene Logic for Museums?
AI-generated video makes it possible to explore creative interpretations of paintings and other visual assets. Scene Logic then turns that content into an interactive experience by connecting user actions to visibility changes, animations, and playback.
Together, these tools can help museums and educators create experiences that are more engaging than static displays alone.
The same workflow can be adapted to other artworks, illustrations, historical portraits, and exhibition materials.
For example, an exhibition could feature several paintings, each with its own animated interpretation and interactive information panel. Visitors could tap an artwork to reveal its story, compare the original with the animation, and continue exploring at their own pace.
Bring Art to Life with ARLOOPA Studio
Interactive AR can create new ways for audiences to connect with art and cultural heritage. By combining Image Tracking, AI Video, and Scene Logic, you can transform a familiar painting into an experience that invites visitors to explore and compare.
Ready to create your own interactive museum experience?
Open ARLOOPA Studio, follow the tutorial, and experiment with bringing your own artwork to life.
Artwork Credits
Mona Lisa, by Leonardo da Vinci, Musée du Louvre. Public-domain painting and faithful photographic reproduction.

The moving portrait in this tutorial is an AI-generated interpretation of the artwork, not historical footage of Leonardo da Vinci's original painting.
The silent AI clip was generated using ARLOOPA Studio's Create → Image Tracking → AI Video workflow with Kling.


See more articles


Solutions