

Image Tracking in Augmented Reality: How to Turn Images into AR Experiences with ARLOOPA Studio
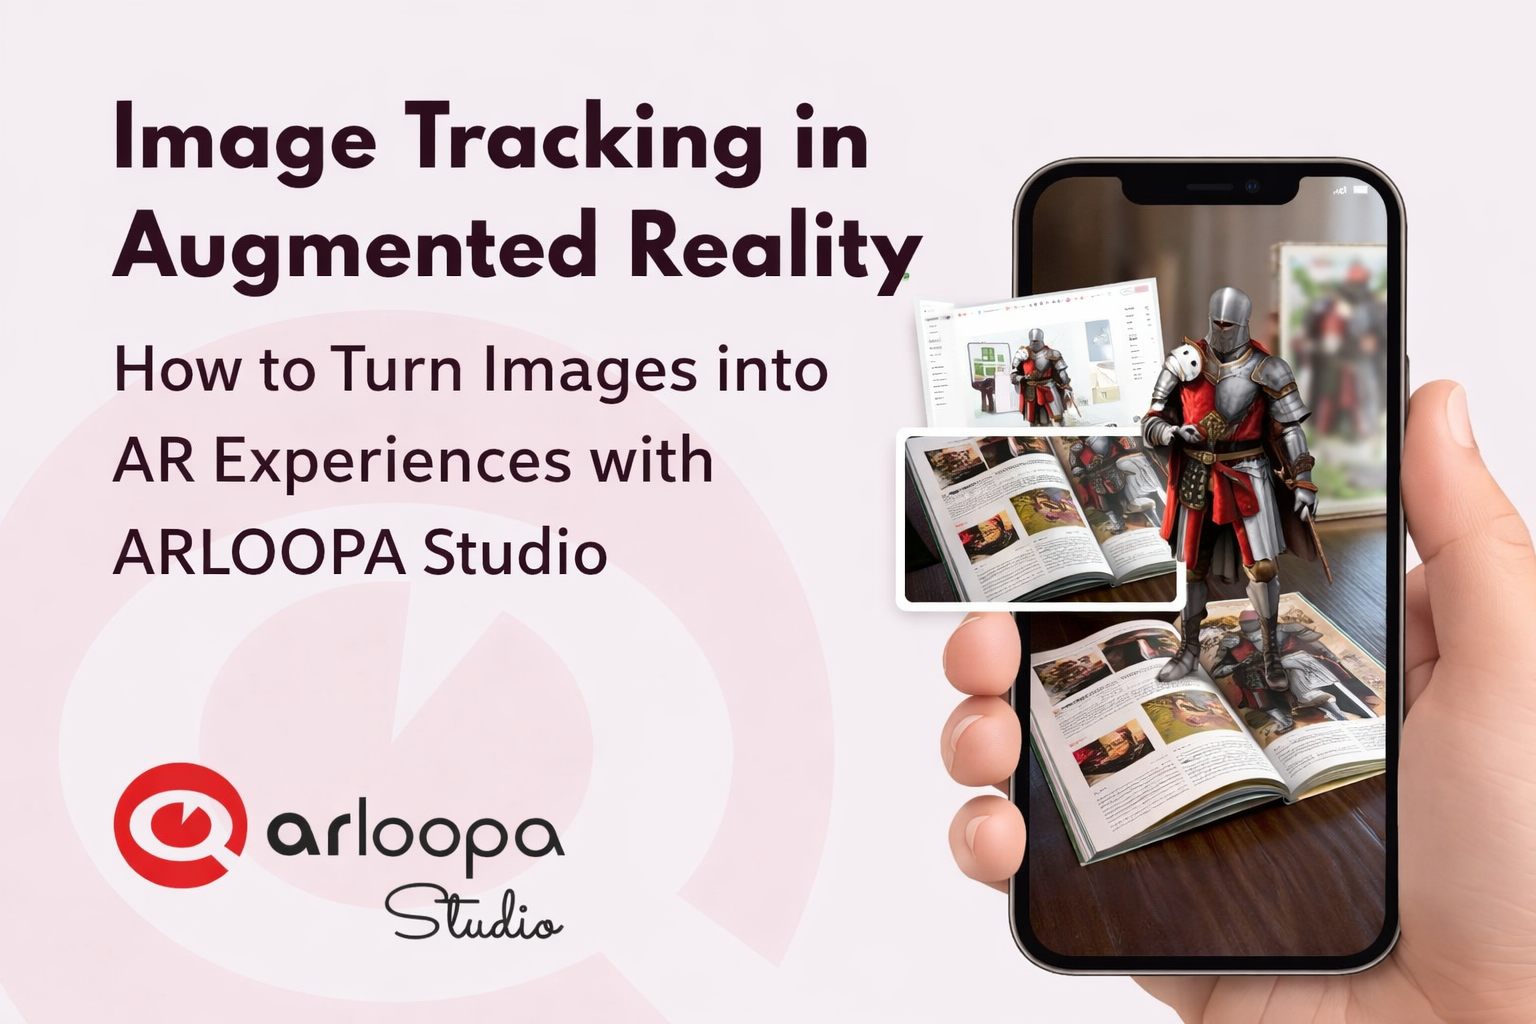
Augmented Reality is rapidly changing how we interact with digital content. One of the most powerful technologies behind many AR experiences is image tracking. This technology allows a simple image - like a poster, product package, or flyer—to trigger interactive digital content when viewed through a smartphone camera.
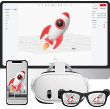
With ARLOOPA Studio, creators, marketers, and designers can easily transform static images into immersive augmented reality experiences without complex development.
In this guide, we’ll explore what image tracking is, how it works, and how to create your own image-based AR experiences using ARLOOPA Studio.
What Is Image Tracking in Augmented Reality?
Image tracking in augmented reality is a technology that allows an AR application to recognize a specific image and overlay digital content on top of it in real time.
When a user points their smartphone camera at a predefined image (called a target image), the AR system detects it and instantly displays digital elements such as: 3D models, animations, videos, interactive buttons or visual effects.
These elements appear anchored to the image, making it look like digital content exists in the real world.
For example:
• A magazine page plays a video when scanned
• A product package reveals a 3D animation
• A poster launches an interactive AR experience
• A business card displays contact information in 3D
Image tracking is widely used in AR marketing, education, advertising, and product visualization.
How to Create an Image Tracking AR Experience in ARLOOPA Studio
Creating image tracking AR experiences with ARLOOPA Studio is straightforward and does not require advanced coding skills.
Step 1: Upload Your Target Image
Start by uploading the image that will trigger the AR experience. This could be:
• posters
• product packaging
• brochures
• flyers
• book covers
• business cards
The better the image quality and detail, the more reliable the tracking will be.
Step 2: Add Augmented Reality Content
Once the image is uploaded, you can attach digital content such as: 3D models, videos, images, animations or text elements.
These elements will appear when the image is scanned.
Step 3: Position the AR Elements
Use the ARLOOPA Studio editor to adjust scale, position and rotation.
This ensures the digital content aligns perfectly with the physical image.
Step 4: Publish the AR Experience
After building your project, publish it so users can access it through the ARLOOPA.
Once published, anyone can scan the image and instantly view the AR experience.
Also read Best Practices for Image Tracking AR


See more articles


Solutions