
 How to Create an Interactive AR Story in ARLOOPA Studio Using Scene Logic
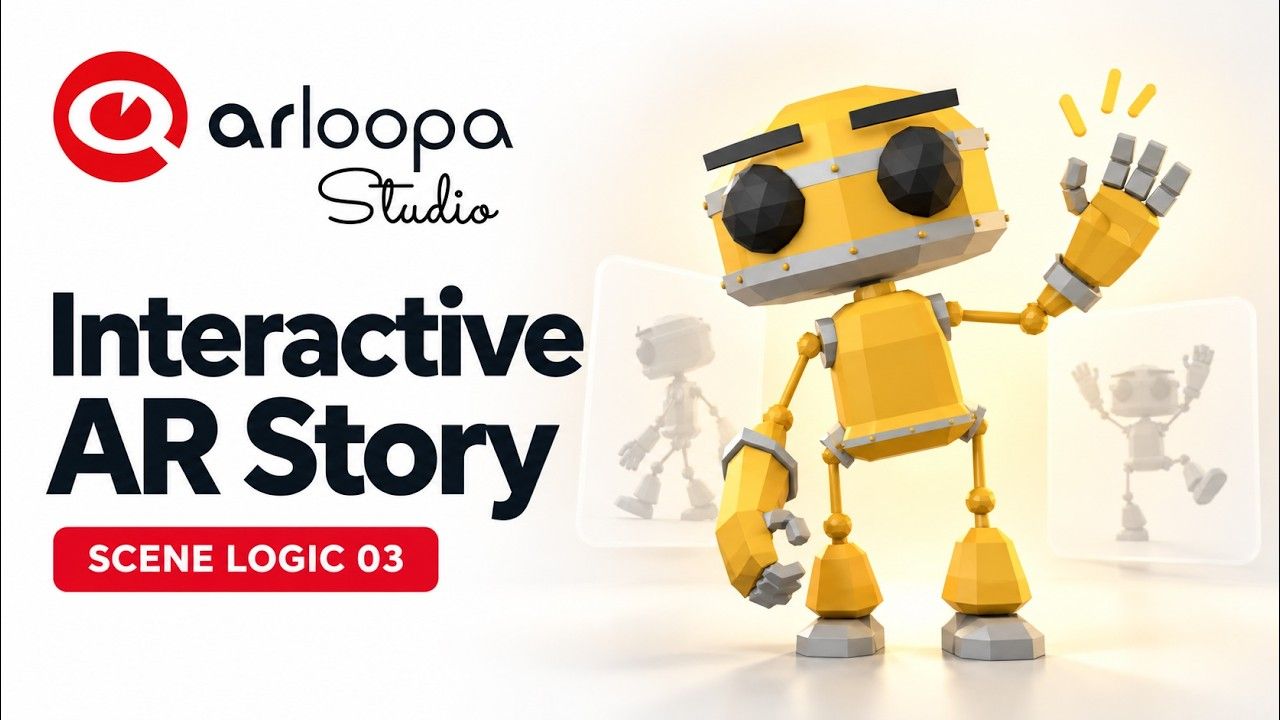
What if you could bring a story to life in augmented reality, where characters move, speak, and respond to the choices your audience makes?
With ARLOOPA Studio, you can create interactive AR experiences that combine animated 3D characters, narration, and clickable buttons—all without writing code.
In this tutorial, you'll learn how to build “Pip’s First Adventure,” an interactive AR story featuring a friendly animated character and three chapters. Using Scene Logic, you'll connect animations and voice recordings to user interactions, allowing viewers to explore the story at their own pace.
Watch the Tutorial
Follow the complete video tutorial to see how to build your own interactive AR story in ARLOOPA Studio.
What Is an Interactive AR Story?
An interactive augmented reality story combines storytelling with digital objects that users can explore in their physical environment.
Instead of simply watching a video or reading text, users can interact with animated characters, trigger dialogue, and choose which part of the story to experience next.
For example, a character could greet the viewer, begin a journey, and celebrate reaching a destination. Each moment can have its own animation and narration, activated through interactive buttons.
This approach opens up new possibilities for:
- Education: Create interactive lessons with animated characters and narrated explanations.
- Children’s storytelling: Bring fictional characters and adventures into the real world.
- Museums and cultural heritage: Present historical figures, artifacts, and stories through immersive experiences.
- Marketing and brand storytelling: Introduce products or brand mascots through interactive narratives.
- Entertainment: Build short, character-driven AR experiences that audiences can explore.
What You'll Build: Pip’s First Adventure
In this project, you'll create an AR story featuring an animated robot character named Pip.
The experience has three chapters, each with a dedicated button, animation, and narration:
- Hello: Pip greets the viewer and introduces the experience.
- Journey: Pip performs a walking animation as the adventure begins.
- Celebration: Pip performs a celebratory dance to conclude the story.
Users can select a chapter to hear its narration and watch the corresponding animation. The experience is designed to support replaying chapters and switching between them without overlapping audio.
How to Create an Interactive AR Story in ARLOOPA Studio
Step 1: Create a Markerless AR Experience
Open ARLOOPA Studio and start a new project.
For this tutorial, choose:
- Tracking: Surface Tracking
- Platform: ARLOOPA App
- Scene type: Empty Scene
Surface Tracking allows the experience to be placed on a detected surface, making it possible to bring your animated character into a real-world environment.
Step 2: Upload Your Animated 3D Character
Import the animated 3D character into your scene.
For Pip’s First Adventure, the tutorial uses the RobotExpressive model, which includes several animation clips.
Once the model is uploaded, position and scale it using Studio’s visual handles. Arrange the character so it has enough space to move and remains clearly visible alongside the interface elements.
Step 3: Create the Story Interface
Add a title and create three buttons for the story chapters: Hello, Journey, and Celebration.
These buttons will serve as the main controls for the experience. Use clear labels so viewers can easily understand which part of the story each button activates.
You can also add text elements to introduce the character or provide additional context.
Step 4: Prepare the Narration
Upload the audio recordings for all three chapters.
Each recording should correspond to the chapter it describes. For example, the Hello narration introduces Pip, the Journey narration accompanies the walking animation, and the Celebration narration concludes the adventure.
Keeping the narration organized makes it easier to connect each audio file to the correct button and animation.
Step 5: Connect Button Clicks to Scene Logic
Now it's time to make the story interactive.
Use Scene Logic to connect each button’s click event to the actions that control the character and narration.
The workflow uses four important actions:
- Stop Audio: Stop the previous narration before starting another.
- Stop Animation: Stop the current animation when switching chapters.
- Play Animation: Play the animation assigned to the selected chapter.
- Play Audio: Play the corresponding narration.
Connecting these actions creates a coordinated experience in which the character’s movement and voice match the selected chapter.
Step 6: Use Named Animation Clips
One useful feature of this project is the use of named animation clips.
Instead of manually configuring animation coordinates or using Number nodes, you can select the animation clips available in the imported model.
For this tutorial, the original animation clips are renamed Hello, Journey, and Celebration.
This makes the Scene Logic graph easier to understand and maintain, especially when working with several chapters.
Step 7: Organize Object References and Set the First Chapter
Keep your object references organized so the buttons, character animations, and audio actions are connected to the correct elements.
You can also configure the experience to start with the Hello chapter automatically. This gives users an immediate introduction when they enter the AR scene.
The first chapter establishes the interaction pattern that you'll repeat for the other two buttons.
Step 8: Prevent Overlapping Narration
An important part of interactive storytelling is ensuring that the audio remains clear when users switch between chapters.
Configure each chapter's click event to stop the previous narration before playing the newly selected audio. Stop the current animation as needed before starting the next one.
This prevents multiple voice recordings from playing simultaneously and helps keep the character's actions synchronized with the selected chapter.
Step 9: Preview and Test the Story
Preview your AR experience and test the complete interaction.
Check that:
- Pip appears correctly in the scene.
- All three buttons trigger the appropriate chapter.
- Each chapter plays the correct animation and narration.
- Switching chapters stops the previous audio and animation.
- Users can replay chapters without unexpected behavior.
- The story starts with the intended introduction.
Test repeated clicks and rapid chapter switching, too. These checks help ensure the experience behaves consistently when users explore it freely.
Why Use Scene Logic for AR Storytelling?
Scene Logic makes it possible to build interactive experiences by connecting events and actions visually.
For storytelling projects, this means you can coordinate character animation, audio playback, and interface controls without having to write traditional code.
The techniques demonstrated in this tutorial can help you create:
- Interactive stories with multiple chapters.
- Animated characters that respond to user input.
- Narrated educational experiences.
- Character-based product demonstrations.
- Immersive storytelling installations.
Once you understand how to connect click events, audio actions, and named animation clips, you can adapt the same workflow to many different stories and characters.
Bring Your Own Story to Life
An interactive AR story can turn an ordinary character into an engaging digital companion. By combining animation, narration, and simple controls, you can create experiences that invite audiences to participate rather than just observe.
Ready to start creating?
Open ARLOOPA Studio, follow the tutorial, and build your own interactive AR story.
3D Model Credits
RobotExpressive by Tomás Laulhé / Quaternius, distributed under the CC0 1.0 Universal license in the three.js examples. Conversion and facial morph targets by Don McCurdy.
For this tutorial, the Wave, Walking, and Dance animations were repeated and renamed Hello, Journey, and Celebration. Skin weights were normalized. The character geometry, materials, and rig were preserved.


See more articles


Solutions