
 How to Build an AR Rescue Game with Scene Logic in ARLOOPA Studio
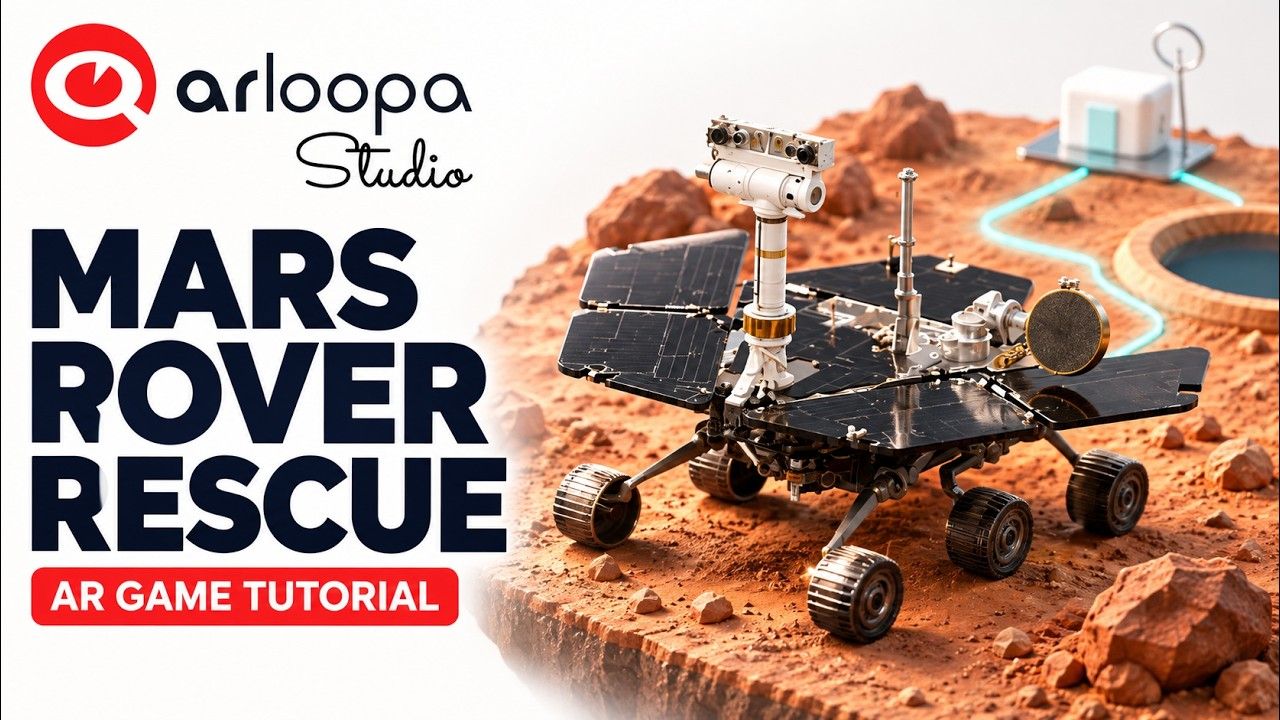
What if learning to solve problems felt like playing a mission on Mars?
With ARLOOPA Studio, you can create interactive augmented reality games that combine 3D environments, visual clues, animated objects, and decision-based challenges. Using Scene Logic, you can build a complete puzzle experience in which every choice has a consequence—all without writing code.
In this tutorial, you'll learn how to create Mars Rover Rescue, an interactive AR rescue game that challenges players to restore power, decode a beacon signal, and navigate a dangerous Martian landscape.
Watch the Tutorial
Follow the complete video tutorial to learn how to build the game, connect the interactions, and test the mission from beginning to end.
What Is an Interactive AR Puzzle Game?
An augmented reality puzzle game combines digital objects and challenges with the player's real-world environment.
Instead of simply reading instructions or watching a demonstration, players interact with objects, examine clues, make decisions, and receive feedback based on their choices.
In Mars Rover Rescue, players must complete a series of challenges to help a rover return safely to base. Correct answers advance the mission, while incorrect answers trigger explanations and allow players to try again.
Interactive AR puzzle games can be useful for:
- Education: Turn STEM concepts into hands-on problem-solving activities.
- Science museums: Create interactive space exploration exhibits.
- Corporate training: Teach procedures through decision-based simulations.
- Team-building activities: Encourage collaboration and logical thinking.
- Events and exhibitions: Engage visitors with interactive missions and challenges.
What You'll Build: Mars Rover Rescue
Mars Rover Rescue is a three-stage interactive puzzle set in a Martian environment.
Players must solve three challenges to complete the mission.
Challenge 1: Restore Power
Players examine a broken circuit and select the correct answer to restore power to the rover.
Incorrect choices provide useful feedback explaining the mistake, helping players understand the clue before trying again.
Challenge 2: Decode the Beacon
Players examine a beacon's signal pattern and identify the correct sequence: short, short, long.
This challenge encourages observation, pattern recognition, and logical reasoning.
Challenge 3: Find a Safe Route
Players analyze the Martian terrain and select a route that avoids boulders and a crater.
Once all three challenges are completed, the rover can perform its animated return-to-base sequence.
How to Build Mars Rover Rescue in ARLOOPA Studio
Step 1: Create a Markerless AR Experience
Open ARLOOPA Studio and create a new project.
Choose the following settings:
- Tracking: Surface Tracking
- Platform: ARLOOPA App
- Scene type: Empty Scene
Surface Tracking allows players to place the rescue mission in their environment without requiring a printed image marker.
Step 2: Upload the Mars Scene
Import the supplied 3D models into your scene, including the rover, terrain, console, and other mission assets.
The exercise models contain the terrain, visual clues, and named animation clips needed for the game.
Arrange the scene using Studio's visual controls. Make sure the rover and important mission elements are clearly visible and that the environment provides enough space for the interactive answer cards.
Step 3: Add the Answer Cards
Upload the nine supplied answer cards and position them around the mission interface.
These cards represent the possible answers across the three challenges.
Organize the options so players can understand each question and select an answer easily. Clear visual organization is particularly important when several choices appear together.
Step 4: Create the Interface and Restart Button
Add native text elements to explain the mission and introduce each challenge.
Create a Restart button so players can reset the game and try the mission again.
Keep the interface simple and readable, allowing the Martian environment and the puzzle choices to remain the main focus.
Step 5: Connect the First Challenge
Start with the power-restoration puzzle.
Use the On Model Click event to detect when a player selects an answer card. Connect the event to the actions needed to determine the outcome of that choice.
For a wrong answer, configure the interaction to display an explanation and allow the player to retry.
For the correct answer, connect the relevant actions to advance the mission.
This creates a basic interaction pattern that you can reuse for the other challenges.
Step 6: Give Players Feedback for Incorrect Answers
A good puzzle should help players learn from mistakes rather than simply telling them they are wrong.
Create separate feedback for the incorrect answer options. Each explanation should help the player understand the relevant clue or why the selected answer does not work.
Keep the retry interaction available so players can examine the feedback and make another choice.
This approach makes the game more educational and encourages players to think through each decision.
Step 7: Use Scene Logic to Control the Game Flow
Scene Logic lets you coordinate the actions that happen after a player makes a choice.
This project uses several important nodes and events:
- On Model Click: Detect a player's selection.
- Stop Animation: Stop an animation when a new interaction requires it.
- Play Animation: Trigger the appropriate animation for an outcome.
- Branch: Run multiple actions in parallel.
- On Complete: Trigger the next action after an animation finishes.
For example, when a player solves a challenge, the game can hide the completed answer choices while preparing the next stage.
Using On Complete helps ensure that the next challenge becomes available at the appropriate point in the sequence.
Step 8: Hide Completed Choices and Unlock the Next Stage
After a correct answer, hide the choices associated with the completed challenge.
Then use the appropriate Scene Logic connections to reveal or enable the next set of options.
Repeat this pattern for the beacon challenge and the safe-route challenge.
By controlling when choices appear, you can guide players through the mission in a clear sequence rather than presenting every challenge at once.
Step 9: Create the Initialization Routine
The initialization routine prepares the scene when a new game begins.
Use it to establish the intended starting state of the mission, including the visibility of the answer cards and the availability of the first challenge.
Separating initialization from the individual puzzle interactions makes the game easier to manage and helps ensure that each new attempt begins consistently.
Step 10: Connect the Restart Routine
Configure the Restart button to return the game to its initial state.
The restart logic should restore the original puzzle choices, reset the relevant interaction states, and prepare the first challenge to run again.
Test restarting both after completing the mission and while an animation is still playing. This helps reveal potential conflicts between the restart sequence and ongoing actions.
Step 11: Test the Complete Rescue Mission
Preview the experience and work through all three challenges.
Check that:
- The mission loads with the correct starting state.
- Incorrect answers display the appropriate explanations.
- Players can retry a challenge without getting stuck.
- Correct answers hide completed choices.
- The beacon puzzle accepts the correct signal pattern.
- The route challenge rewards the safe path.
- The rover performs the return-to-base animation after completion.
- Restart returns the experience to its initial state.
- Repeated clicks and restarts during transitions behave as expected.
Testing these interactions is essential because a multi-stage game needs to respond reliably to both correct and incorrect choices.
Why Use Scene Logic to Build AR Games?
Scene Logic makes it possible to create interactive experiences by connecting events, conditions, and actions visually.
In Mars Rover Rescue, the same approach is used to manage answer selections, display feedback, control animations, hide completed choices, and move players through a sequence of challenges.
The tutorial also demonstrates that you can build this experience without using Number, Set Position, Set Rotation, or Set Scale nodes. The supplied 3D assets already contain the visual elements and named animations, allowing you to focus on the interaction logic.
Once you understand this workflow, you can apply it to many other projects, including educational quizzes, escape-room puzzles, interactive product demonstrations, and equipment-training simulations.
Turn Your Ideas into Interactive AR Missions
Mars Rover Rescue demonstrates how augmented reality can turn a sequence of questions into an interactive mission.
By combining 3D assets, visual clues, meaningful feedback, and animated outcomes, you can create an experience that encourages players to observe, reason, and experiment.
Ready to build your own AR puzzle?
Open ARLOOPA Studio, follow the tutorial, and start creating your own interactive mission.
Asset Credits
Rover: NASA/JPL-Caltech, Spirit and Opportunity Rover, 3D Model. Modified for this exercise with wheel and antenna animation.
Terrain, console, answer cards, clue artwork, and mission animation: Original tutorial assets, supplied under the CC0 1.0 Universal license.
This is a fictional educational rescue game. No NASA endorsement is implied.


See more articles


Solutions