
 How to Build an Interactive Equipment Guide in ARLOOPA Studio
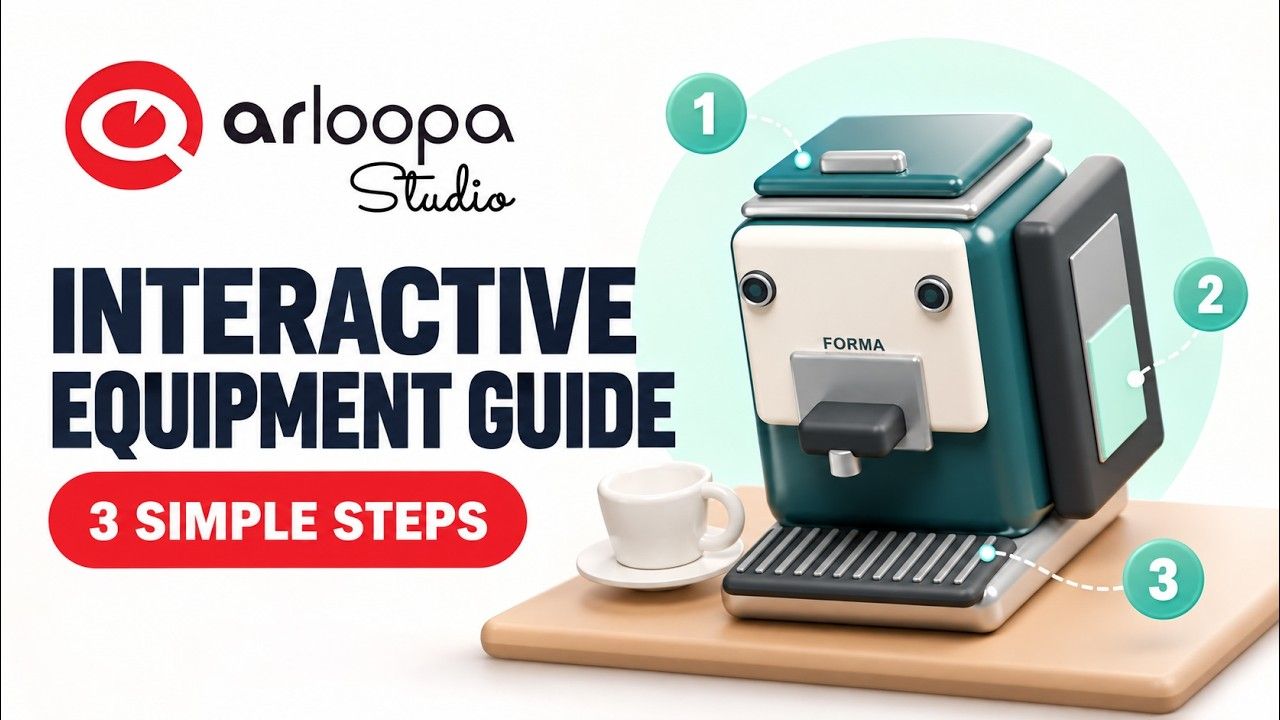
What if you could teach someone how to use a coffee machine through an interactive augmented reality experience?
With ARLOOPA Studio, you can turn a 3D product model into a simple, step-by-step equipment guide. By combining animated demonstrations with interactive buttons, users can explore individual actions at their own pace—all without writing code.
In this tutorial, you'll learn how to build an interactive coffee-machine guide using Scene Logic in ARLOOPA Studio. Users will be able to load a coffee capsule, place a cup, and watch coffee brew by selecting the corresponding buttons.
Watch the Tutorial
Follow the video tutorial to see how to create your own interactive equipment guide from start to finish.
What Is an Interactive Equipment Guide?
An interactive equipment guide uses digital models, animations, and user controls to demonstrate how a product or machine works.
Instead of reading a manual or watching a long instructional video, users can select individual steps and watch the corresponding actions unfold in an interactive 3D environment.
With augmented reality, these demonstrations can appear in the user's surroundings, creating a more visual and engaging learning experience.
Interactive equipment guides can be useful for:
- Product demonstrations: Show customers how a product works before purchasing.
- Employee training: Introduce equipment functions and operating procedures.
- Customer onboarding: Help users understand a product's main features.
- Education: Demonstrate mechanical processes and practical concepts.
- Trade shows and exhibitions: Let visitors explore products through interactive demonstrations.
What You'll Build
In this tutorial, you'll create a simple guide for a fictional coffee machine called FORMA.
The experience includes one 3D model and three interactive buttons, each connected to a named animation.
Users can choose to:
- Load a capsule: Watch the capsule-loading demonstration.
- Place a cup: See the cup-placement step.
- Brew coffee: Watch the coffee-making animation.
Each step can be selected and replayed independently, allowing users to explore the demonstrations in any order.
How to Build an Interactive Equipment Guide in ARLOOPA Studio
Step 1: Create a Markerless AR Experience
Open ARLOOPA Studio and start a new project.
Choose the following settings:
- Tracking: Surface Tracking
- Platform: ARLOOPA App
- Scene type: Empty Scene
Surface Tracking lets users place the equipment guide on a detected surface, making it suitable for interactive product demonstrations and training experiences.
Step 2: Upload and Position the Coffee Machine
Import the supplied coffee-machine 3D model into your scene.
Adjust its position and scale using Studio's visual controls so that the machine is clearly visible and framed appropriately.
The exercise model already contains the coffee-machine geometry, instruction artwork, and three prepared animations. This means you can focus on connecting the model to interactive controls rather than creating the animations from scratch.
Step 3: Create the First Interactive Button
Add a native button to the scene for the first demonstration: Load Capsule.
Position the button using the scene handles and make sure its label clearly communicates the action.
This button will let users trigger the corresponding animation whenever they want to see how the capsule-loading step works.
Step 4: Add the Other Two Buttons
Create two additional buttons:
- Place Cup
- Brew Coffee
Arrange all three buttons so they are easy to find and use.
Keeping the controls consistent makes the experience intuitive. Users can quickly understand that each button represents a separate demonstration.
Step 5: Connect the Button Click Event
Now it's time to make the controls interactive.
Open Scene Logic and connect the button's On Model Click event to the animation actions.
The core interaction pattern used in this tutorial is:
On Model Click → Stop Animation → Play Animation
When the user selects a button, the logic stops the current animation and plays the named animation associated with that demonstration.
This helps ensure that switching between steps produces the intended result instead of leaving an earlier animation running.
Step 6: Play a Named Animation
Select the animation corresponding to the Load Capsule button.
Rather than entering XYZ coordinates or manually adjusting transformation values, you can use the named animation already included in the supplied model.
This keeps the logic straightforward and makes it easier to understand which action belongs to each button.
Step 7: Repeat the Logic for the Remaining Buttons
Apply the same wiring pattern to the Place Cup and Brew Coffee buttons.
Each button should stop the current animation and play its own assigned demonstration.
Although the logic follows the same pattern, each interaction uses its own animation and starting state. This allows users to choose and replay individual steps without having to follow a fixed sequence.
Step 8: Test All Three Demonstrations
Preview the experience and test each button.
Check that:
- The coffee machine appears correctly in the AR scene.
- Each button triggers the appropriate animation.
- Switching buttons stops the previous animation as intended.
- Each demonstration can be replayed.
- Repeated taps behave consistently.
- Users can switch between demonstrations without unexpected animation behavior.
Testing different interaction sequences is important even for a simple guide. Users may select the same step several times or jump directly from one demonstration to another.
Why Use Scene Logic for Equipment Training?
Scene Logic makes it possible to connect interactive controls to 3D object behaviors through a visual workflow.
In this project, the same simple pattern is repeated three times to create a complete equipment guide.
The finished Scene Logic graph contains 18 nodes and 15 connections, with no Number or transform nodes required.
This demonstrates how prepared 3D assets and named animations can simplify the creation of interactive training experiences.
The same approach can be adapted to other products and equipment, including household appliances, electronic devices, tools, and machinery.
From Coffee Machines to Interactive Product Training
A three-step coffee-machine guide is just one example of how augmented reality can make product instructions more engaging.
Imagine creating a guide that demonstrates how to assemble a device, replace a component, operate a tool, or navigate a product's main features. Users could explore each action individually and repeat demonstrations whenever they need a refresher.
With ARLOOPA Studio, you can start with a prepared 3D model and use Scene Logic to build the interactive experience around it.
Create Your Own Interactive Equipment Guide
Ready to turn a product model into an interactive demonstration?
Open ARLOOPA Studio, follow the tutorial, and experiment with connecting your own 3D assets and animations to native controls.
Exercise Asset Credits
Original coffee-machine model, instruction artwork, and animations: CC0 1.0 Universal.
FORMA is a fictional exercise appliance. This project demonstrates an interactive training format.


See more articles


Solutions