
 How to Create a Cinematic AR Product Launch in ARLOOPA Studio
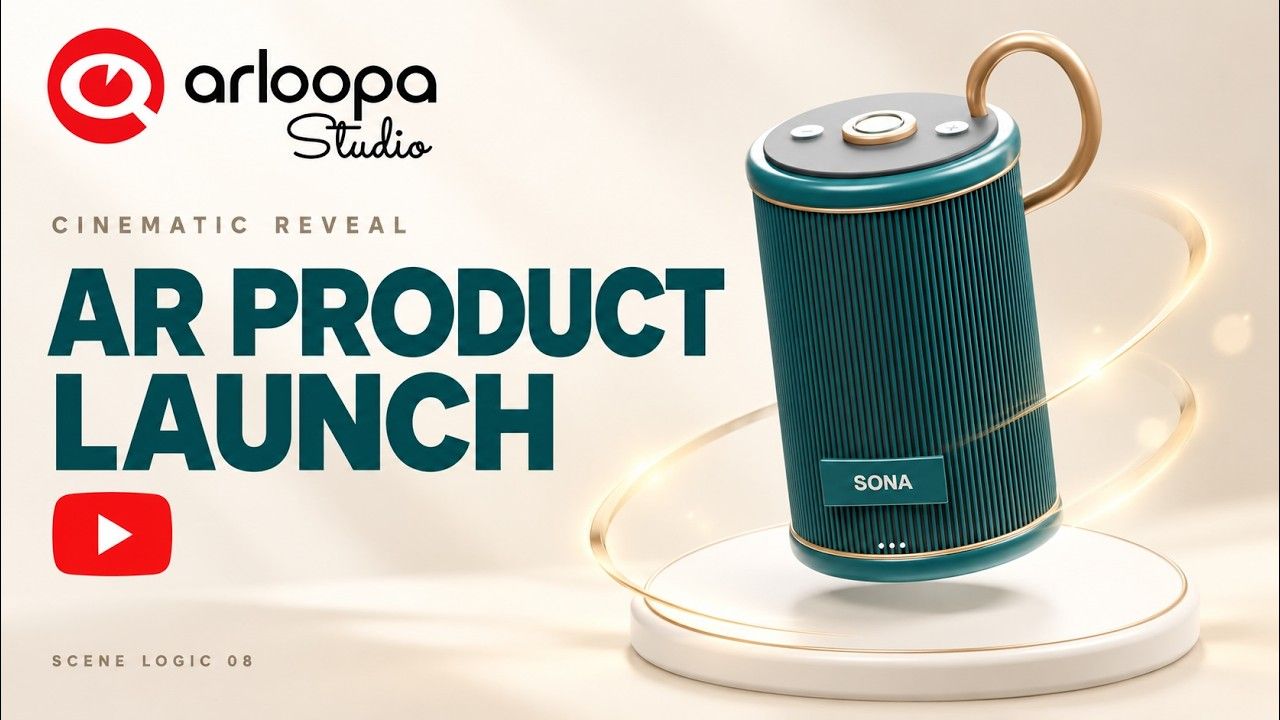
Want to make a product reveal feel like a cinematic launch event? With augmented reality, you can turn a simple button click into an engaging product presentation featuring animation, sound, and dynamic text.
In this tutorial, you'll learn how to create a cinematic AR product launch in ARLOOPA Studio using Scene Logic. You'll build an interactive experience in which a virtual speaker launches with an animated reveal, a sound cue plays at the same time, and a headline appears when the animation finishes—all without writing code.
Watch the Tutorial
Follow the video to learn how to build the complete product reveal experience step by step.
What Is a Cinematic AR Product Launch?
A cinematic AR product launch combines augmented reality, animation, sound, and visual storytelling to present a product in a memorable way.
Instead of displaying a static 3D model, you can let users trigger a coordinated reveal that builds anticipation and draws attention to the product's key message.
For example, a virtual speaker could launch into view with an animated movement and sound effect, followed by a headline introducing the product.
This approach can be useful for:
- Product launches: Create interactive presentations for new products.
- Retail and e-commerce: Give customers a more engaging way to explore products.
- Trade shows and exhibitions: Attract attention with immersive product demonstrations.
- Brand marketing: Combine motion, sound, and messaging to reinforce a campaign.
- Sales presentations: Showcase product features in an interactive format.
What You'll Build
In this tutorial, you'll create a cinematic product reveal featuring a fictional speaker called SONA.
The experience revolves around one button that triggers three coordinated actions:
- The speaker plays its prepared launch animation.
- A sound cue plays alongside the animation.
- A headline fades into view when the animation finishes.
You'll also configure the interaction so users can replay the reveal without leaving the previous headline or sound in an unwanted state.
How to Create a Cinematic AR Product Launch in ARLOOPA Studio
Step 1: Create a Markerless AR Scene
Open ARLOOPA Studio and start a new project.
Choose the following settings:
- Tracking: Surface Tracking
- Platform: ARLOOPA App
- Scene type: Empty Scene
Surface Tracking allows users to place the virtual product on a detected surface, making it suitable for interactive product presentations in a real-world environment.
Step 2: Upload and Position the SONA Speaker
Import the supplied SONA speaker model into your scene.
Use the visual handles to position and scale the product. Frame it so the speaker is clearly visible and has enough room for its launch animation.
The supplied model already includes the Launch animation, so you don't need to create the 3D animation yourself. This tutorial focuses on connecting the existing animation to interactive controls.
Step 3: Create the Launch Button and Headline
Add a native button that users can select to start the product reveal.
Next, create a text element for the headline that will appear after the animation finishes.
Think about the message you want the reveal to communicate. For a real product launch, the headline could introduce the product name, highlight a key feature, or announce a new collection.
Keep the headline hidden at the beginning so it becomes part of the reveal rather than appearing too early.
Step 4: Add the Launch Sound
Import the supplied seven-second launch sound into the project.
The sound is designed to accompany the speaker's animation, helping the reveal feel more dynamic.
Before connecting the launch interaction, configure the appropriate startup behavior so the audio doesn't play automatically when the scene begins.
Step 5: Prepare the Scene for Replay
A polished interactive experience should behave consistently every time the user activates it.
Use Stop Animation and Stop Audio to prepare the scene for a new launch.
This helps prevent a previous animation or sound from interfering with the next interaction.
The goal is to make each button press feel like a fresh product reveal, with the animation and sound starting together.
Step 6: Clear the Previous Headline
Before launching again, reset the headline's visibility.
Use a False Boolean value to control the relevant visibility state, clearing the previous headline before the next reveal begins.
This ensures the text doesn't remain visible while the speaker performs its animation again.
Managing the headline's state is an important part of making the experience feel intentional and repeatable.
Step 7: Play the Animation and Sound Together
Now connect the button's click event to the launch sequence using Scene Logic.
Use Branch to split the interaction into parallel actions, allowing the animation and sound to start together.
The result is a coordinated reveal in which the visual movement and audio cue work as one experience.
This technique is useful whenever multiple actions should respond to the same user interaction.
Step 8: Reveal the Headline After the Animation
To complete the cinematic effect, connect the On Complete output of Play Animation to the headline reveal.
Configure the headline to fade into view after the launch animation finishes.
This creates a clear sequence:
- The user presses the launch button.
- The speaker animation and sound begin together.
- The animation completes.
- The headline fades into view.
Using On Complete helps ensure the text appears at the right moment instead of overlapping the main product reveal.
Step 9: Test the Product Reveal
Preview your experience in ARLOOPA Studio and test the full interaction.
Check that:
- The speaker is positioned correctly.
- The launch button triggers the animation.
- The sound plays alongside the animation.
- The headline remains hidden until the animation finishes.
- The previous headline is cleared before replay.
- The sound and animation can be triggered again as intended.
Testing replay is particularly important. Try activating the button multiple times to make sure the interaction remains consistent and the headline appears at the correct moment every time.
Why Use Scene Logic for Cinematic AR Experiences?
Scene Logic allows you to connect user interactions with animations, sound, and interface elements through a visual workflow.
In this project, one button coordinates several actions, while Branch and On Complete help control their timing.
The finished graph contains 20 nodes and 18 connections, with no Number or transform nodes required.
This demonstrates how you can build a cinematic product presentation using a prepared 3D model and a clear interaction structure, without needing to author a new 3D animation.
The same workflow can be adapted to product launches, interactive advertisements, branded experiences, and immersive sales presentations.
Turn Your Product into an Interactive Reveal
A compelling product presentation is about more than showing a model. Animation creates movement, sound adds atmosphere, and a well-timed headline delivers the message.
With ARLOOPA Studio, you can combine these elements into an interactive augmented reality experience that users control themselves.
Ready to create your own cinematic reveal?
Open ARLOOPA Studio, follow the tutorial, and experiment with bringing your products to life through animation, sound, and Scene Logic.
Exercise Assets
The tutorial exercise pack includes:
- The original SONA speaker GLB model.
- The seven-second launch sound.
- Setup instructions.
- A CC0 1.0 license.
Exercise asset download: Add the hosted exercise-pack link here before publishing.
The SONA speaker is a fictional exercise product used to demonstrate an interactive AR product-launch format.


See more articles


Solutions